

How To Repair Leaky Shower
At that place are few things more worrying, or gross than a leaking shower drain. If this issue isn't dealt with quickly, the damage that tin build up can be comprehensive and can screw out of control.
However, non everyone is enlightened of how to fix a leaking drain or of how serious this issue can become, which leads to many people neglecting or ignoring the issue until it's too late.
Thankfully, it isn't a particularly circuitous issue and can be stock-still relatively easily if you know what to await for and have the correct equipment to deal with information technology.
In this guide, we're going to await at how to fix a leaking shower drain, as well as what causes this and what you need to gear up it apace and effectively.
What Causes A Leaky Drain?
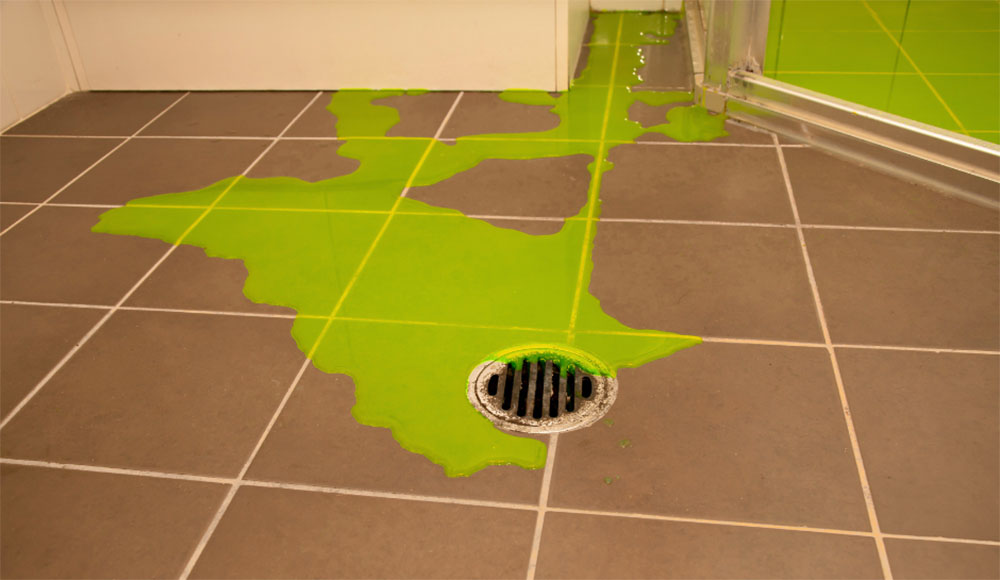
There are some telltale and very concerning signs that a drain is leaking, and ane of the near common is a discolored patch in the ceiling beneath your bathroom, often exactly below where your shower or drain is.
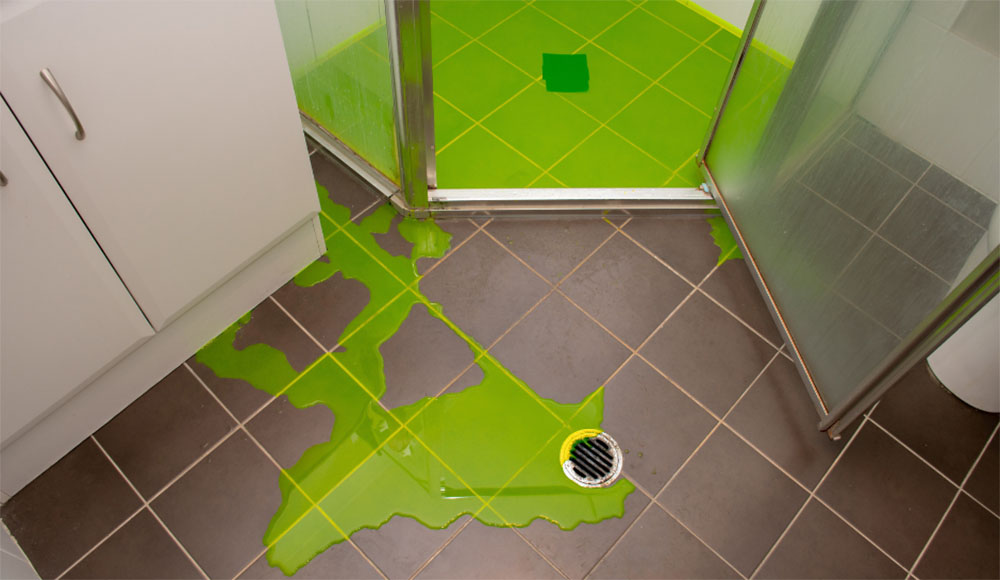
Other issues such every bit seemingly random puddles on the floor or moisture surfaces tin can also be a telltale sign of a leak from somewhere unseen above.
This is ofttimes a cause for panic and with good reason, every bit h2o harm can lead to potentially catastrophic results and very costly repairs if non noticed and dealt with in good fourth dimension.
But what causes a leaking drain?
The near common causes are loose strainers, rusted connections, and leaking water traps. Identifying the issue is important as some problems may require special attention or equipment that the average person doesn't have access to, but a lot of the fourth dimension you lot can solve the issue yourself.
What You Need
Repairing a leaky bleed requires some equipment to ensure the problem is solved properly.
You need;
- A Phillips screwdriver
- A flathead screwdriver
- A hacksaw
- Rags
- Pliers
- A Cleaning brush
- A fresh gasket
- Caulk or plumbers sealant/putty
How To Gear up The Drain
At present that you have everything needed to fix the drain information technology's time to run across near actually solving the problem.
1. Remove The Drain Cover
The first thing to practice is remove the metallic bleed encompass from the drain itself. Some covers can be removed by loosening them with a apartment screwdriver, however, others are fixed in place with screws.
For these, y'all'll obviously need to remove the screws and put them safely to one side to ensure they aren't lost and the cover can exist properly secured afterwards.
2. Remove The Gasket
Now that the encompass is off, cheque the gasket and remove it. Use pliers to grab this and pull it free, so discard information technology as it will likely need to be replaced and could exist one of the causes of the leak itself if it'southward very old and worn or disfigured.
Ideally, y'all want to concur the gasket on the sides and turn it counterclockwise until it loosens, and so you tin can pull information technology complimentary with the pliers.
Yous tin can so undo and remove the compression spiral-nut using the pliers also.
3. Remove The Shower Drain
The most worrying and challenging role comes here. You'll need to use the hacksaw to make two cuts in the trunk of the drain, vertically effectually an inch autonomously, and so use the saw to sever the bleed flange.
This requires a fleck of nervus also as some strength. Make sure you've got the right parts before you start cutting and brand markings to follow if you're especially worried or unsure.
When you cut the flange, ensure you don't cutting the shower pad or the pipage riser as this can exist catastrophic. Be very careful and precise with your cuts and don't utilise likewise much force. Slow and steady wins the race…
From here you lot can coax out a small piece of the drain using a flathead screwdriver. Y'all desire to release around an inch or so before existence able to leverage the rest of the trunk out of the drain itself.
If there is any caulk or sealant remaining on the outside of the shower drain, remove it using your easily or the flathead screwdriver.
4. Clean The Rim
In one case the bleed trunk is successfully removed, the rim of the drain volition be exposed. This area of the shower is usually disgusting, even if the shower is very well kept, and so don't be alarmed or surprised if information technology'south a footling gross, after all this is where all your filth washes away!
Clean the rim equally well every bit you lot can with your rags and cleaning brush, every bit this volition aid y'all create a tighter, more secure seal when you put everything back together.
5. Install The Replacement Gasket
Have the clean gasket and slide it into the opening of the pan. It should sit in the center of the rim. Now spread some sealant or plumbers putty on the outside of the strainer and ensure it'due south well coated.
vi. Fit The New Shower Bleed And Seal
Spiral in the new shower drain torso into the opening, and turn it clockwise until information technology is tightened into place correctly.
7. Remove Excess Putty
Use some old rags or a putty pocketknife to make clean away any backlog putty from the bleed, wiping away residue with a rag. Exercise not use the shower overnight at present, to permit the sealant to fully gear up in place.
The following twenty-four hours you can render the bleed cover and screw information technology back into identify if required.
viii. Give Information technology A Pocket-sized Test
Before you fill a huge bath or take a very long shower, test the new drain with a smaller corporeality of h2o to be sure that the leak is solved and that everything is fitted and working properly! And then you're expert to get!

How To Repair Leaky Shower,
Source: https://showermaestro.com/blog/how-to-fix-leaking-shower-drain/
Posted by: reploglecambee.blogspot.com
0 Response to "How To Repair Leaky Shower"
Post a Comment